Author Archives: John

D810 + T/S

Well, I did it.  I bought a Nikon D810 several weeks ago, and I’m extremely impressed with the camera.  I won’t go into all the details about the D810, as there are many, many reviews on the Web.  However, I will note one feature that has not been talked about much, and that is the split screen live view mode.  This is incredibly useful for landscape photography using Nikon’s tilt/shift lenses.  Activate Live View, tap the i button, and select split screen.  The live view image is divided in two, across the short dimension of the frame.  The “plus” and “minus” buttons allows zooming in for a magnified view.

Here’s where this comes into play with a T/S lens.  If you’re making a tilt while the camera is in a vertical orientation, the split live view allows you to zoom into separate points on both foreground and background, on both near and far, and consequently to accurately position the tilted plane of focus.  Being able to view near and far points simultaneously makes using a T/S a lot easier.  I do wish Nikon had allowed repositioning the split across the long dimension of the frame also, for when the camera is used in a horizontal orientation.  But, hey, I’m really happy with what we got.  Really happy.

Hummers

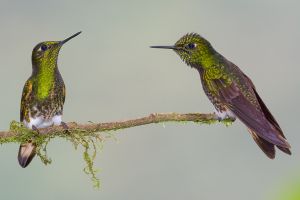
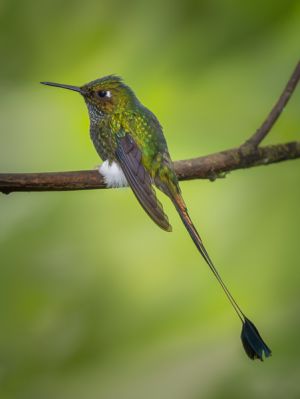
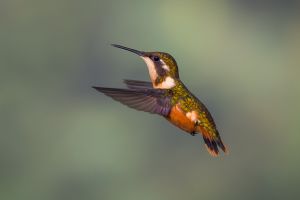
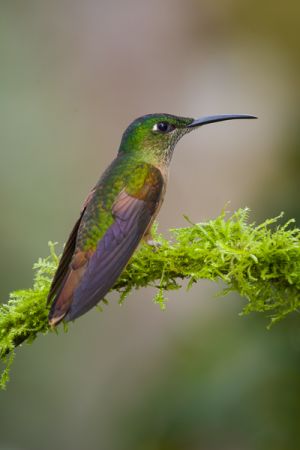
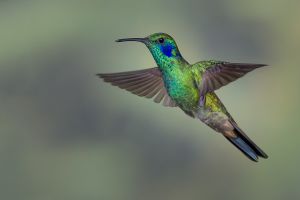
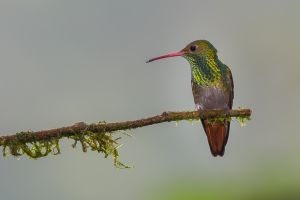
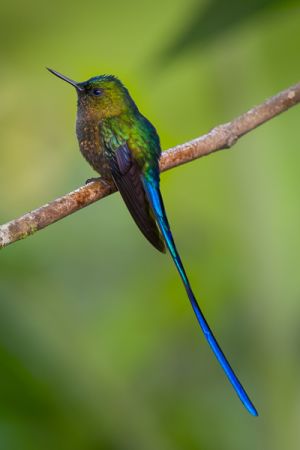
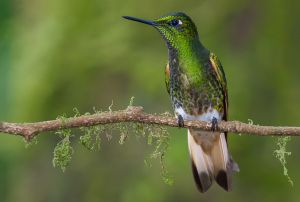
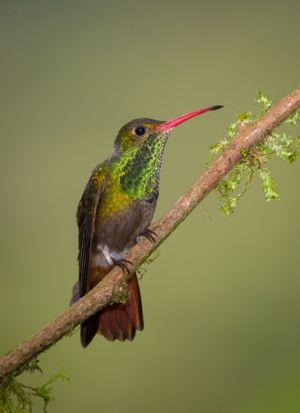
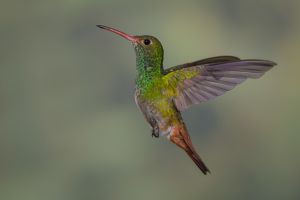
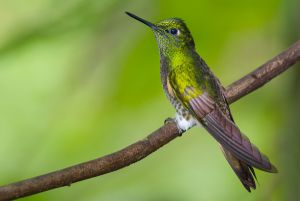
I couldn’t resist.  Earlier this year, while on my way to the Galapagos, I stayed over in mainland Ecuador for a few days to photograph hummingbirds.  Hummers have been worked a lot, but they are magnificent little birds, and, since I was in a location with many species, why not spend a few days photographing?  As I said, I couldn’t resist.  Here’s a short slideshow.

Buff-tailed coronet hummingbirds.Booted racket-tail hummingbirdPurple-throated woodstar hummingbird.Fawn-breasted brilliant hummingbird.Green violetear hummingbird.Rufous-tailed hummingbird.Violet-tailed sylph hummingbird.Buff-tailed coronet hummingbird.Rufous-tailed hummingbird.Rufous-tailed hummingbird.Buff-tailed coronet hummingbird.

For hummingbirds on perches:  Nikon D800E in 1.2 crop mode, 500mm lens with an extension tube (for closer minimum focus), plus a bracket-mounted flash with Better Beamer flash extender attached, flash output between -1 and -2 fill.  Matrix metering, aperture priority (so shutter speeds were between 1/60 and 1/250 sec.), ISO 1000 (low light where I was photographing), f/11.

For hummingbirds in flight:  Nikon D4 with 80-400mm lens, manual exposure, ISO 400, 1/250 sec. at f/11.  In order to freeze the wing movement, I needed to light the entire scene (no fill flash here) using very short flash durations.  This is actually easy to get: set a regular flash on manual output at about 1/16 power and position the flash relatively close to the subject.  I used four flashes: one on-camera (set at an even lower power output), two on light stands aimed from either side toward where the birds would fly into a feeder, and one on another light stand and aimed at an artificial background (a print of out-of-focus vegetation).  To determine flash position, and consequently the f/stop to use, take a shot and take a look at the camera’s LCD.  The on-camera flash triggered all the other flash units; in other words, the flashes were simple slave units.  Since I was the only person working the area my flashes did not interfere with any other setup, otherwise I might have needed radio flash triggers which I don’t own.

I might note that most Nikon flashes can be set in an SU-4 mode, which allows them to act as basic optical slaves with any brand of camera.  Slave flashes certainly don’t need to be current models.  I have a Nikon SB-80DX (discontinued 10 years ago) which I picked up brand new in the box about a year ago for $25.

HDR (a different way)

I’m not a fan of HDR images.  Well, let me clarify that statement.  I’m not a fan of the all-too-typical HDR images I see.  Over-saturated cartoonish colors, with halos around edges, and lots of noise.  No thanks.

But there is a quick and easy way to create naturalistic looking extended dynamic range images, by using Photoshop’s HDR Pro to first create a 32-bit file, and then using the adjustments in either Camera Raw or Lightroom’s Develop module to work on that file.  To be honest, I thought many photographers already knew this trick, but on a recent Van Os Photo Safari which I was leading I discovered that very few of the participants seemed aware of it.  So…OK, here goes, step-by-step.

  • Shoot a series of images varying the exposure by one or two stops between shots, just as you would for any HDR composite.
  • In either Lightroom or Camera Raw make whatever basic adjustments are necessary.
  • Select all the images, and open all in HDR Pro.  From Lightroom: Photo > Edit In > Merge to HDR Pro in Photoshop.  From Bridge: Tools > Photoshop > Merge to HDR Pro.
  • In HDR Pro, check Remove ghosts, and select 32 Bit as the Mode.

  • And now you have a choice to make.  If you normally work in Camera Raw, check the box to Complete Toning in Adobe Camera Raw.  If you normally work in Lightroom, just click OK at the bottom of HDR Pro, and then save the file as a TIFF.  Make sure you save it as a 32-bit file.

  • If you’re going the Lightroom route, import this new file into Lightroom, and then open it in the Develop module.
  •  With either method,  process the file in Camera Raw or Lightroom as you normally do… but check out the range of the Exposure slider.  It’s now plus or minus 10 stops either way, double what it was before.  Wow!  That’s a 20 stop exposure range, definitely an extended dynamic range.

Travels (Continued)

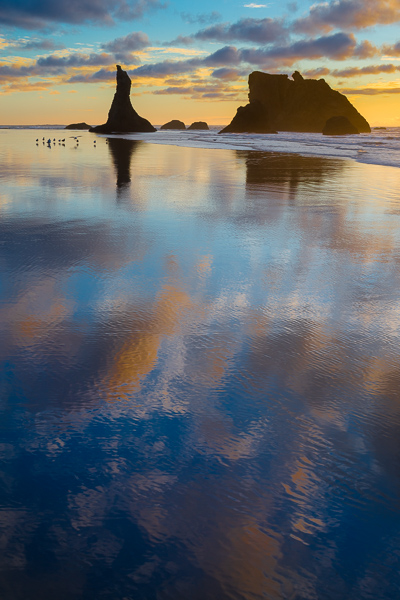
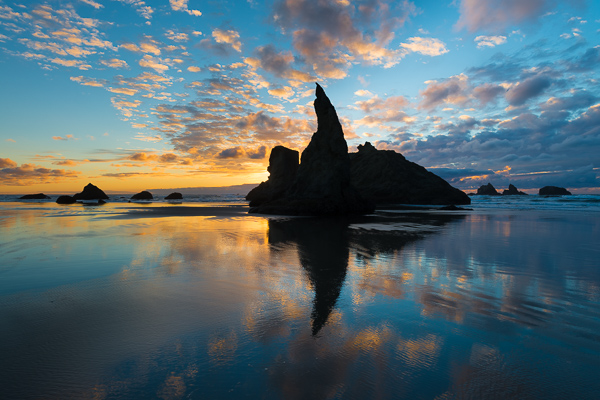
On my return drive up the coast from California, I stopped at Bandon, Oregon, to photograph the seastacks.  Bandon is one of the classic locations on the Oregon coast, and, indeed, I’ve photographed there many, many times.  I don’t think I’ve ever gone past Bandon without stopping, if for no other reason than just to walk the flat, packed sand beach.  On this location I was lucky…I arrived just in time for a great sunset.

Beach and seastacks; Bandon, Oregon. Nikon D800E, 45mm T/S lens.

Beach and seastacks; Bandon, Oregon. Nikon D800E, 16-35mm lens.

Travels

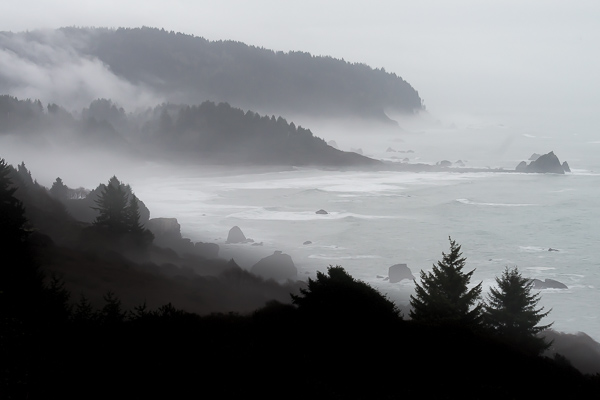
I’ve been traveling a lot this year. Over the next few weeks I’ll be posting some images from several locations. Several months ago I made a very quick “get out of the office” trip down the coast from my home in Oregon to Bowling Ball Beach, just south of Mendocino, California. I entered the redwoods in thick fog, with periods of intense rain. The only image I took was this, shot with my Nikon D800E at ISO 1600 with the 80-400mm lens.

The redwoods coast, in fog and rain.

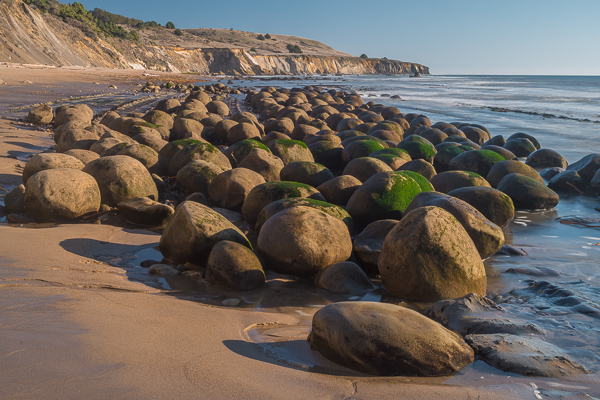
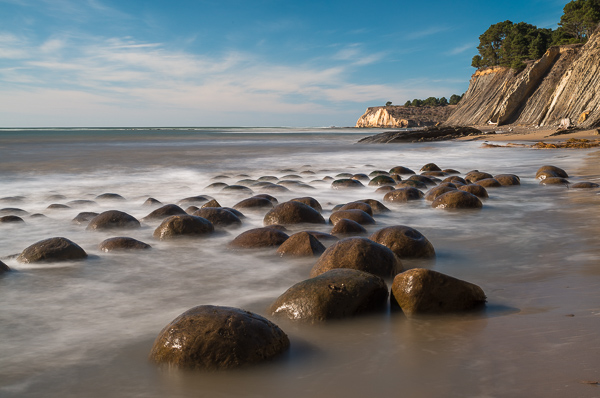
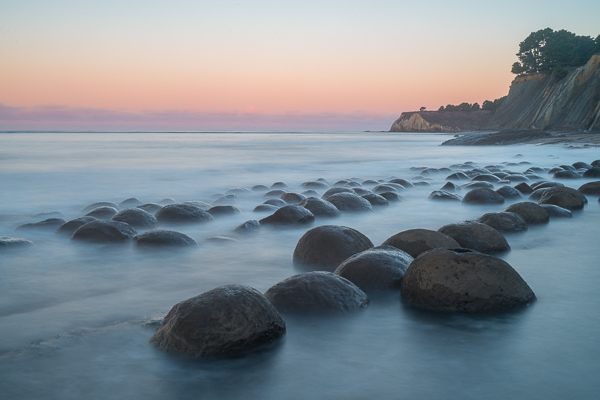
Better weather awaited me at the beach. Here are three images, taken the same afternoon about 2½ hours apart, all three done with the 45mm T/S lens on my D800E. FYI, the “bowling balls” are concretions eroded out of the steeply tilted mudstone cliffs.

Bowling Ball Beach, California.

Bowling Ball Beach, California.

Bowling Ball Beach, California.

If you even plan on photographing here, try to time your visit for a low tide around sunset, wear rubber boots as you’ll be wading, and bring a heavy ND filter to soften the waves.

Tony Kuyper’s Luminosity Masks Panel

In my opinion, one of the main reasons (if not the main reason) to use Photoshop is the option to make and use masks, which allow a correction or adjustment to be applied to one specific area of an image.  But actually selecting that specific area can be extremely difficult, especially if there are fine, overlapping details,  Trying to use the standard selection tools such as the lasso or magic wand is far too often a lesson in frustration.  Selecting by luminosity, by tonality (how light or how dark a given area), is a much better way as this luminosity selection is based on the image itself and consequently will make a self-feathering selection.

Quite a few years ago I learned about making luminosity selections from Tony Kuyper’s website, www.goodlight.us.  In fact, I wrote about luminosity selections, and Tony’s Photoshop actions to make these selections, in some of my early eBooks on Photoshop.  Over the years Tony has refined his actions, and recently he produced a completely new Photoshop “Action Panel version 3.”  I’ve used his previous actions, but his latest panel is amazing.

Do yourself a big favor:  if you’re running Photoshop CS5, CS6, or CC, particularly if you’re a landscape photographer, get the new action panel.  Do yourself an even bigger favor, and get the action panel along with Sean Bagshaw’s video tutorials on using these actions.  The total package is $79 and is worth far more than that.  I highly recommend both the action panel, and the video tutorials.

Here’s the link about the panel:  http://www.goodlight.us/writing/actionspanelv3/panelv3.html.

And the purchase link (see the “special offer” at the bottom of the page):  http://www.goodlight.us/specialoffer.html.

More or Less

How much of a subject should be included in the image?  That’s always a compositional question: exactly where should you position the edge of the frame?  When shooting with a fixed focal length lens, you really don’t have a choice unless you can physically change your location.  If you’re using a zoom lens, you have an almost unlimited choice.  Of course, no matter the lens you could always crop the image afterwards, but all cropping is lossy and personally I hate to throw away data.

So just how much, or how little, needs to be included?  Consider these two images.  Your thoughts?  Is the roller too small in the frame, the elephant too tight?  What do you think?


Lilac-breasted roller.

Elephant.


White Sands

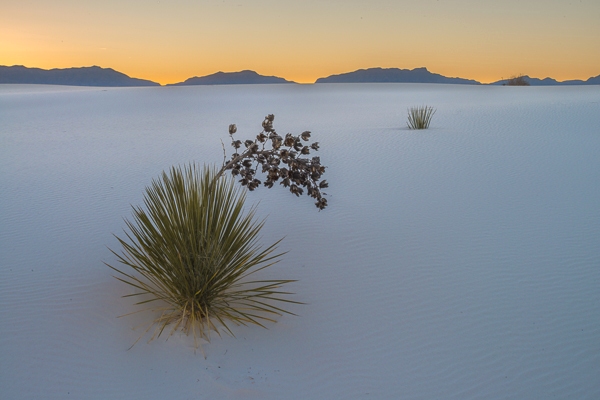
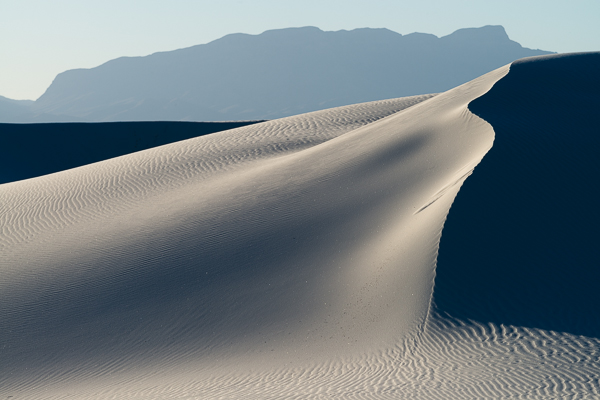
One of my favorite locations to photograph is White Sands National Monument in New Mexico, with the largest gypsum dune field in the world.  This is a place where graphic designs of form and texture jump out at you in early and late light.  Budget concerns have unfortunately restricted normal visitation hours, but early entry is possible through an additional fee, which is well worth paying.  Earlier this year I was there with my friends Jack Dykinga and Justin Black, conducting a landscape workshop.


Yucca at sunset, White Sands National Monument.


Dunes and shadows, White Sands National Monument.

Dunes and shadows, White Sands National Monument.

T/S Stitch

I like photographing with my Tilt/Shift lenses.  Besides using them for single image photos, I’ll often use them to make stitched images.  I keep the tilt and shift functions in different axis, so that I can tilt to reposition the plane of focus, and still be able to shift left and right.  If my camera is mounted in a horizontal position, the resulting image when stitched in Photoshop is in a panoramic format.  But if I mount the camera vertically, and then shift left and right, the final image is just slightly squarer than 4 x 5 proportions.  Why do this?  Easy answer: file size.  With my D800E, the final 16-bit file is roughly 400 MB.

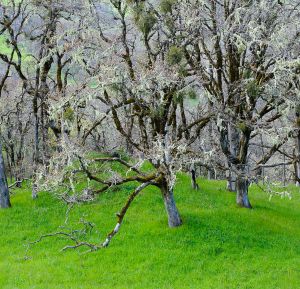
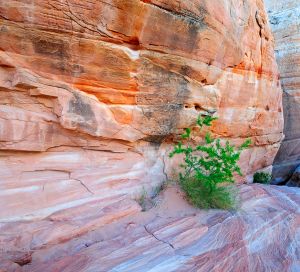
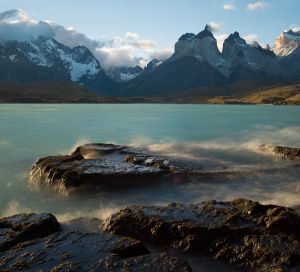
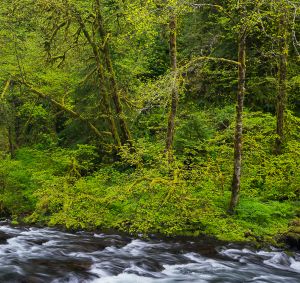
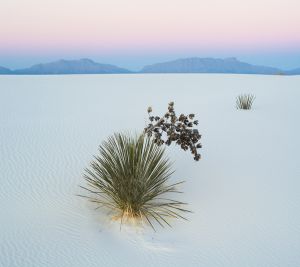
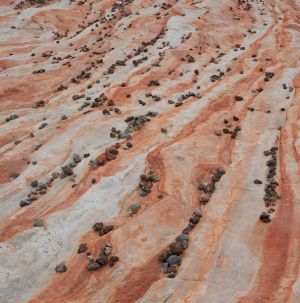
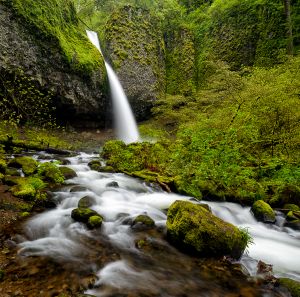
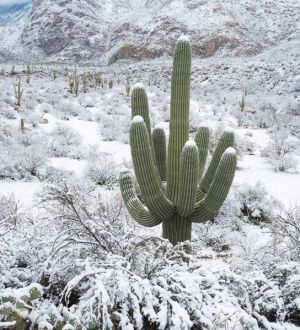
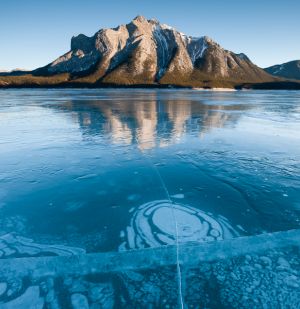
Autumn maple leaves.In the Bald Hills, Redwoods National Park.Sandstone wall, Nevada.Torres del Paine, Chile.Columbia Gorge, Oregon.White Sands National Monument, New Mexico.Valley of Fire, Nevada.Columbia Gorge, Oregon.Snow in the Sonoran desert, Arizona.Abraham Lake, Alberta.

D800 + ND = Magenta cast

Images taken with heavy ND filters will occasionally show a strong magenta cast.  Almost all ND filters transmit some infrared wavelengths, and this IR light is one of the primary causes of the magenta cast.  At the same time, some digital camera sensors are more sensitive to IR than others, and in my experience the Nikon D800/D800E twins fall into this group.  However, for most situations there is a simple solution.

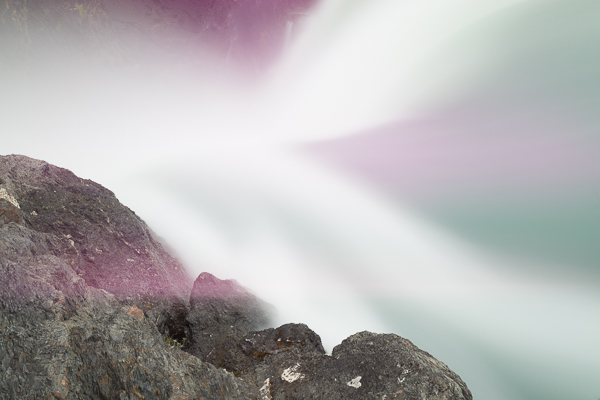
My favorite ND filter is the 7-stop Tiffen IRND 2.1 (which I think is an excellent bargain in terms of ND filters).  But even this filter, with has some IR control as part of its design, can result in magenta contamination.  Here’s a frame taken at the edge of a waterfall using this filter and my D800E, with the lens pointing almost straight down.  The resulting image is a worst case example.


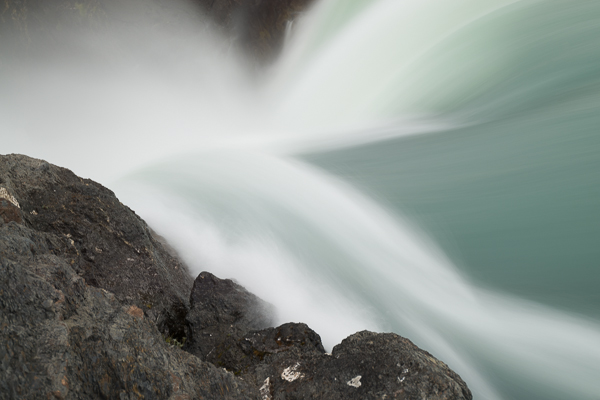
The solution I’ve found:  close the camera’s eyepiece shutter.  No matter if mirror lockup is used, or the timer delay, or whatever…close the eyepiece shutter.  Under any circumstance, the D800/D800E cameras are very sensitive to light coming through the eyepiece, so closing the eyepiece whenever shooting from a tripod is a good idea.  In the above example, the eyepiece is open and positioned toward the sky.  Here’s another shot, same situation as the previous image, but with the eyepiece shutter closed.  Big difference.